I had a half day of spare time before I left to go on holiday, and decided to make something fun to wear when I got back. Separates are always handy, and I've been wanting to try this pattern for ages. It was super quick to make - I did the whole thing (tracing, cutting and sewing) in an afternoon and evening, and if you didn't need to do pattern matching across the seams, it would be even quicker. This is one of my makes for the PR pattern stash contest, but I've realised it could almost be part of the Pantone contest too, as the print contains no less than four of the Pantone spring 2013 colours! (Emerald, Tender Shoots, Monaco Blue and Poppy Red for those interested). I obviously have an eye for forecasting these things... ;)
Pattern description
BurdaStyle magazine 07-2012-120. Pencil skirt with high waist, shaped diagonal front darts and back slit.Pattern sizing
34-44. I cut the 44.Fabric used
Stretch cotton sateen from Fabric.com.Did it look like the photo/drawing on the pattern envelope when you were done?
Fairly similar - I converted the back slit into a vent.Were the instructions easy to follow?
The instructions seemed pretty straightforward, although for most of it I just glanced through as apart from the curved darts it's a fairly basic skirt. One thing to note though: it says at the beginning of the instructions that the skirt sits 5cm below the waist; it does of course mean 5cm above the waist.What did you particularly like or dislike about the pattern?
I really like that this skirt is drafted to be pegged at the bottom - it's by a decent amount too, which seems to be pretty rare. I also like the shaping of the waistline. I don't normally go for skirts without a waistband, but this may have converted me!I'm not entirely convinced about the front shaped darts. I like the feature, but I think I need to adjust the width a bit as they're not completely flattering over my stomach as they are.
Pattern alterations or any design changes you made
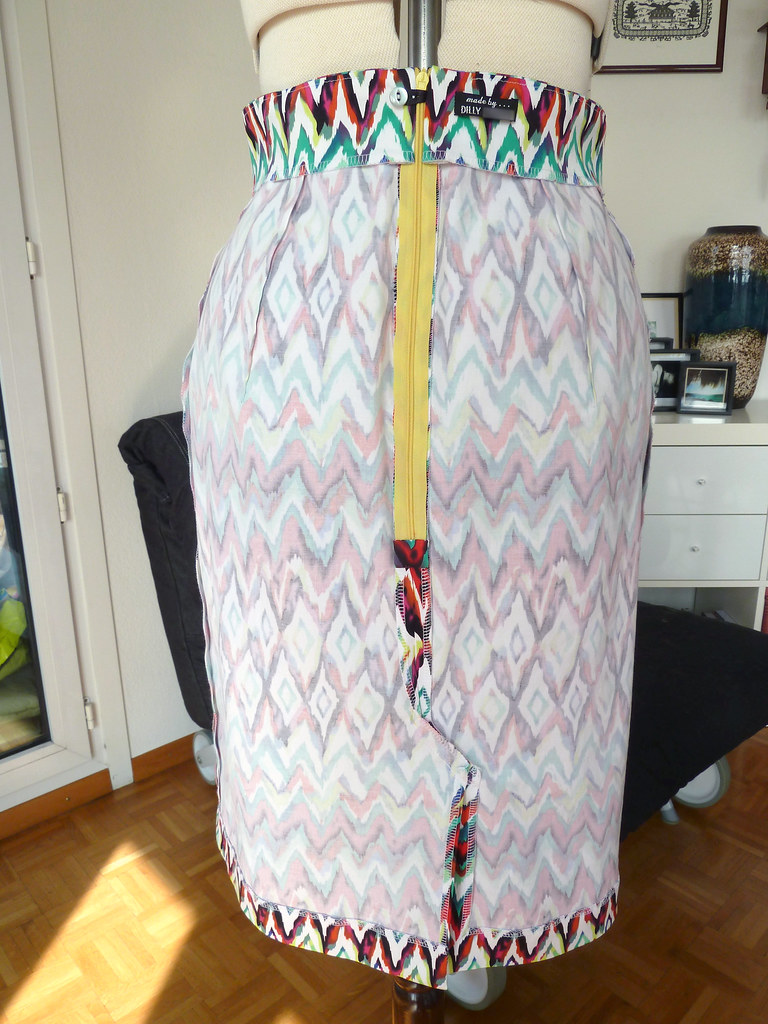
Apart from converting the back slit into a vent, I made no other adjustments or changes. This was even the same length as given.Construction details
The waistline facing pieces were interfaced with fusible tricot to provide stability but maintain the stretch, and the zip opening reinforced with straight grain tape to ensure it didn't stretch out. I serged the edges of the pieces (apart from the enclosed seams under the facings) and sewed the seams themselves with a very narrow zig-zag stitch on my regular machine.I always sew my invisible zips after sewing the seam as I've found this pretty much eliminates the bump at the end of the zipper. I use Els's tutorial - her English isn't perfect so the descriptions aren't completely clear, but if you follow along with the photos too it's pretty straightforward.
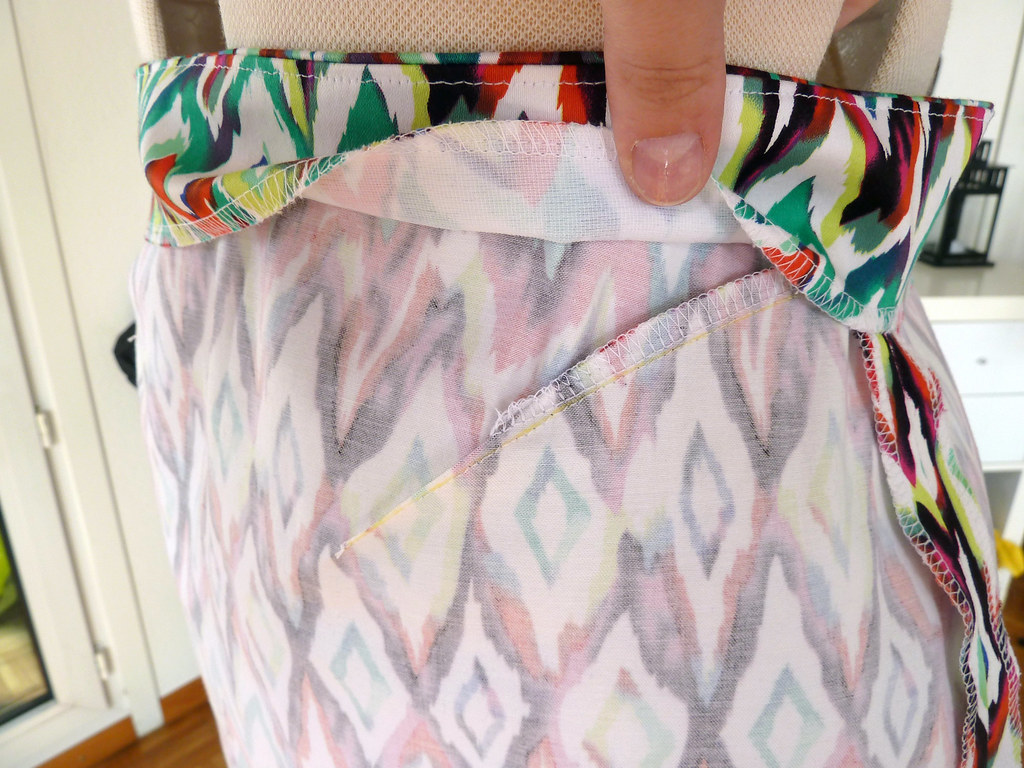
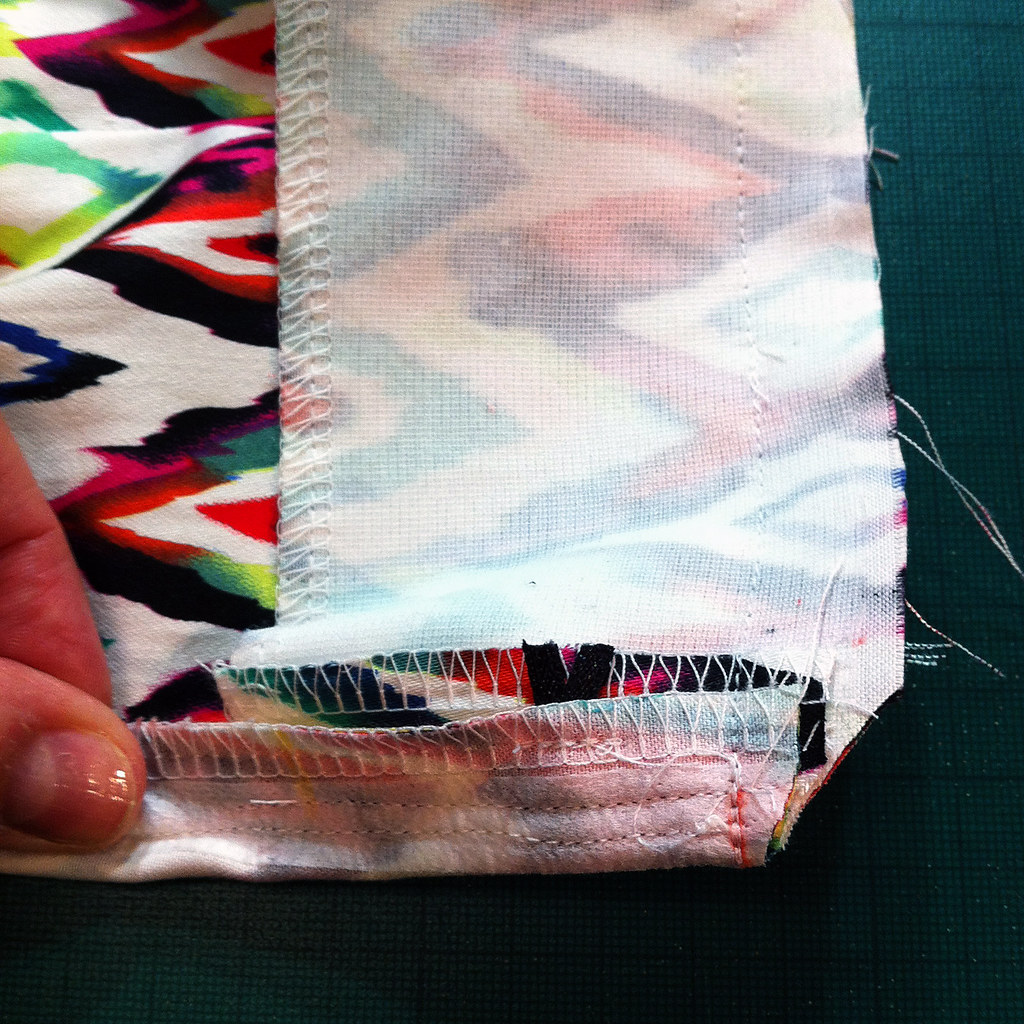
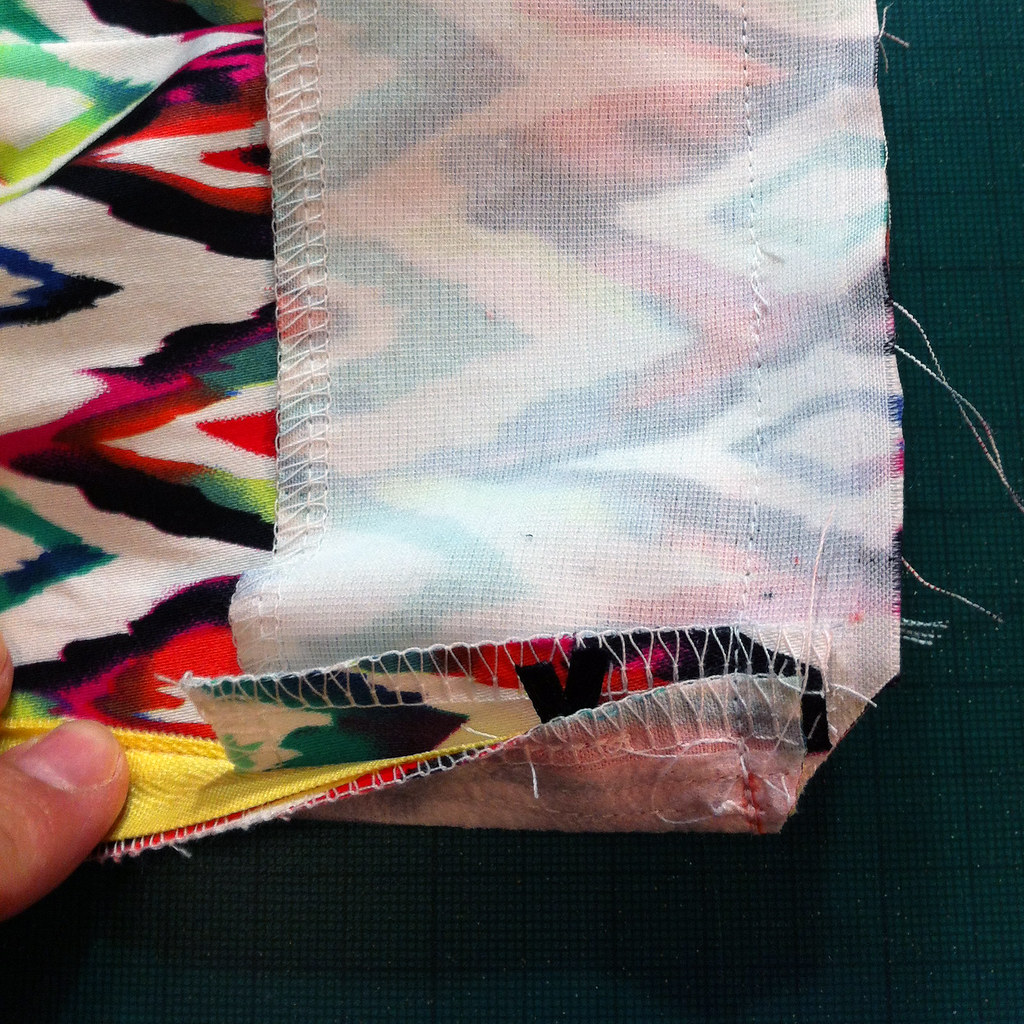
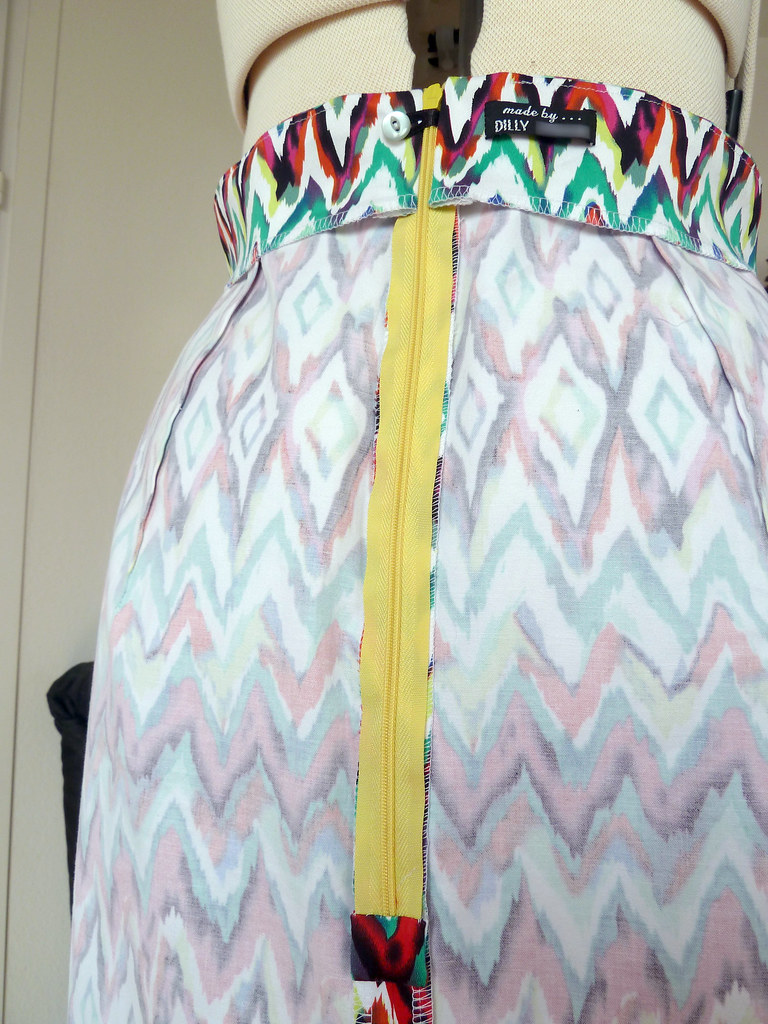
I also used her tutorial for sewing the facing so that it was finished cleanly. Again, this requires a couple of reads through, but is fairly straightforward once you've worked it out, and also provides a neat way to attach a loop for a button, by sandwiching it in the seam with the facing. The only step I needed to fiddle a bit was the step to sew the final few cm of the facing and waistband. It took me a couple of goes to work out the correct way to fold everything so that it turned neatly, but I took the picture below so that I would remember.
You can see the facing on top, with the zipper tape and skirt seam allowance folded back on top of it. Clipping the corner and doing a bit of enthusiastic seam grading meant that the finished result from this configuration was fairly neat. As this skirt is unlined, I covered the end of the zipper with a piece of matching fabric.
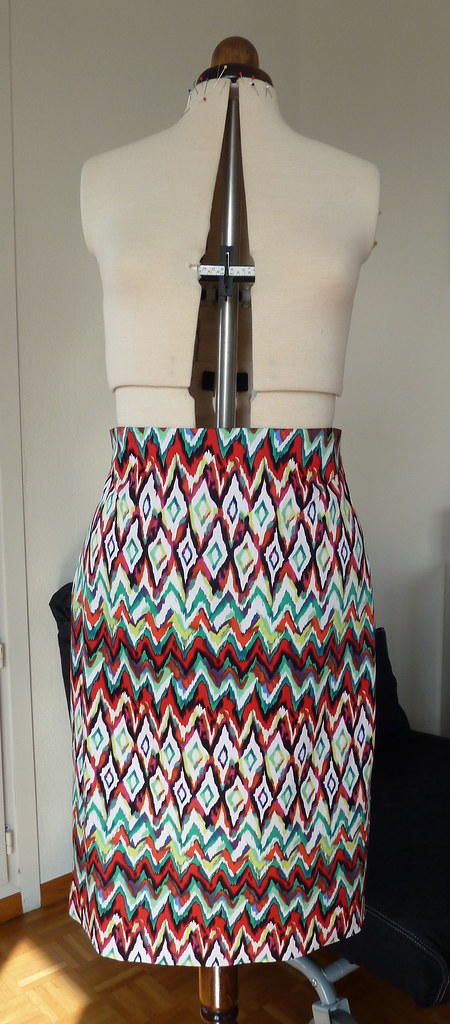
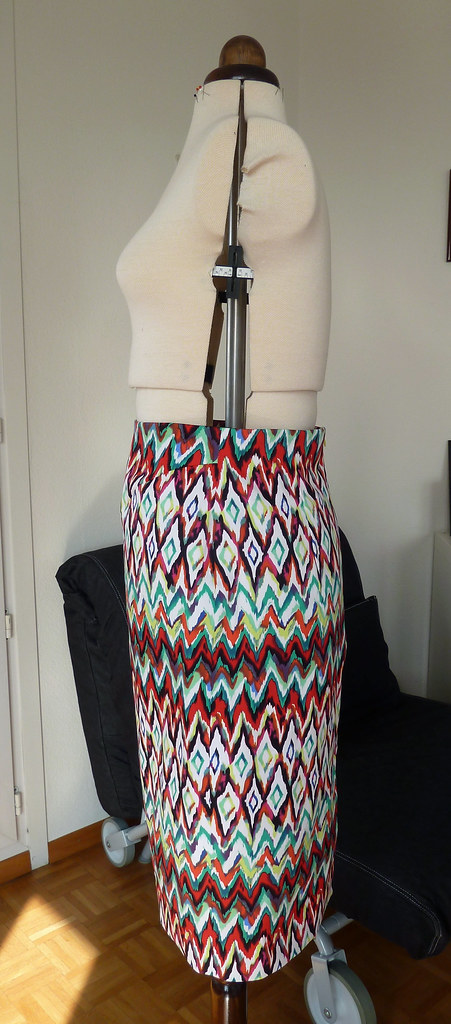
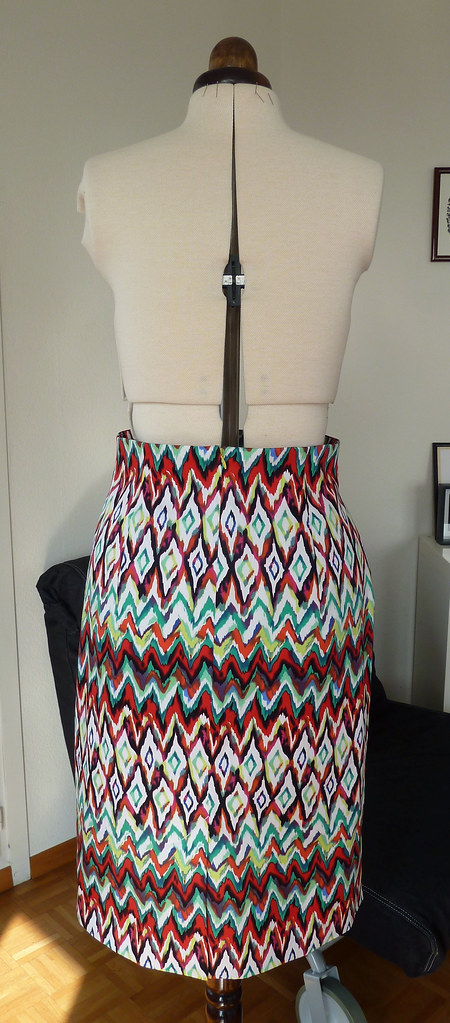
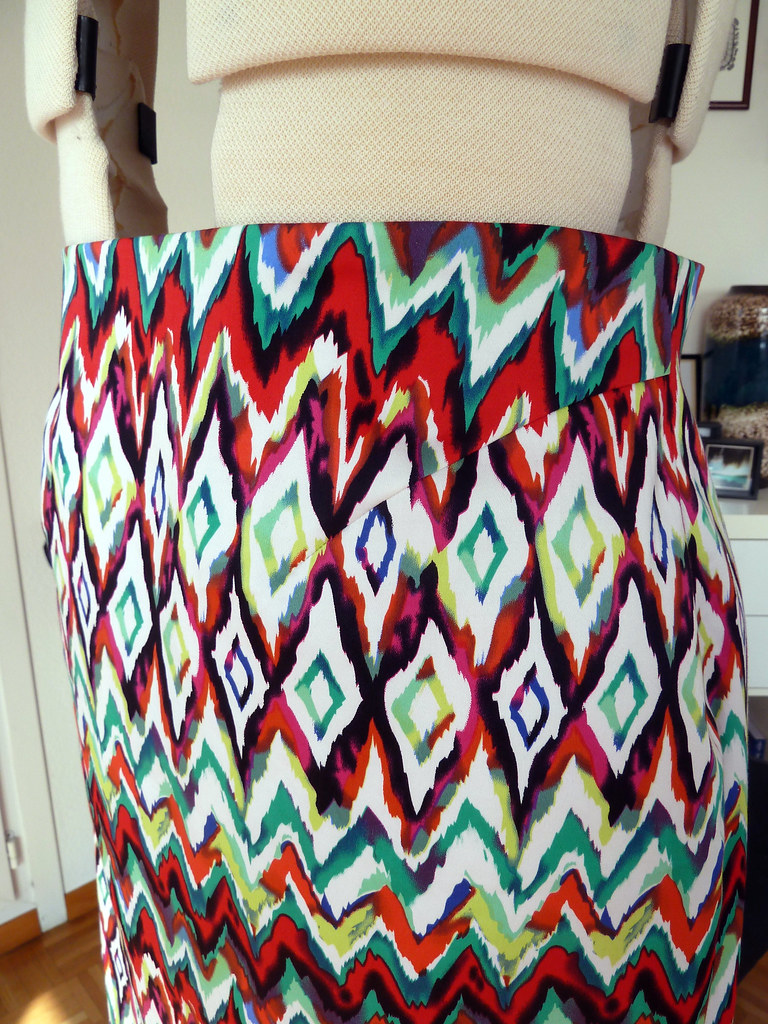
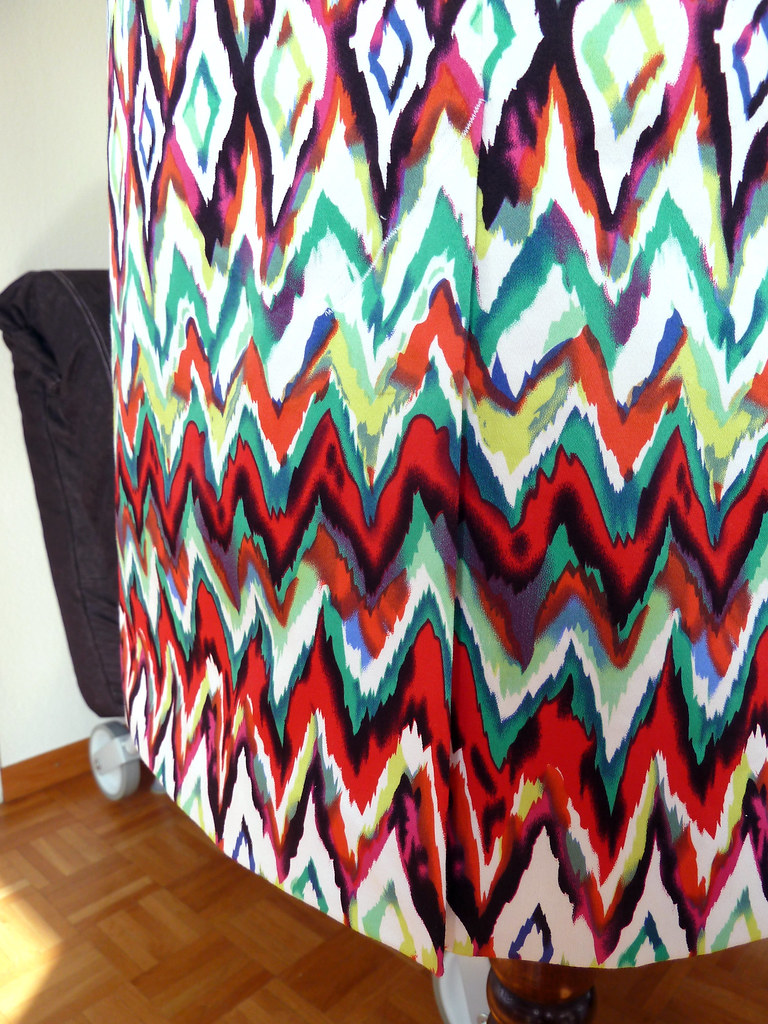
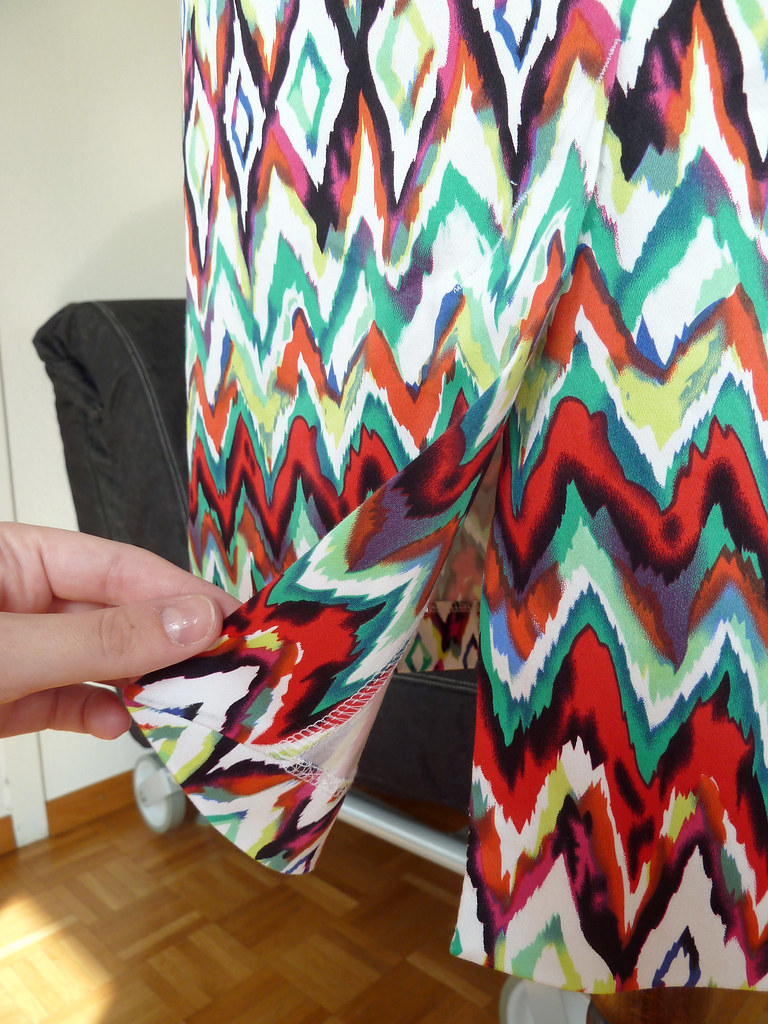
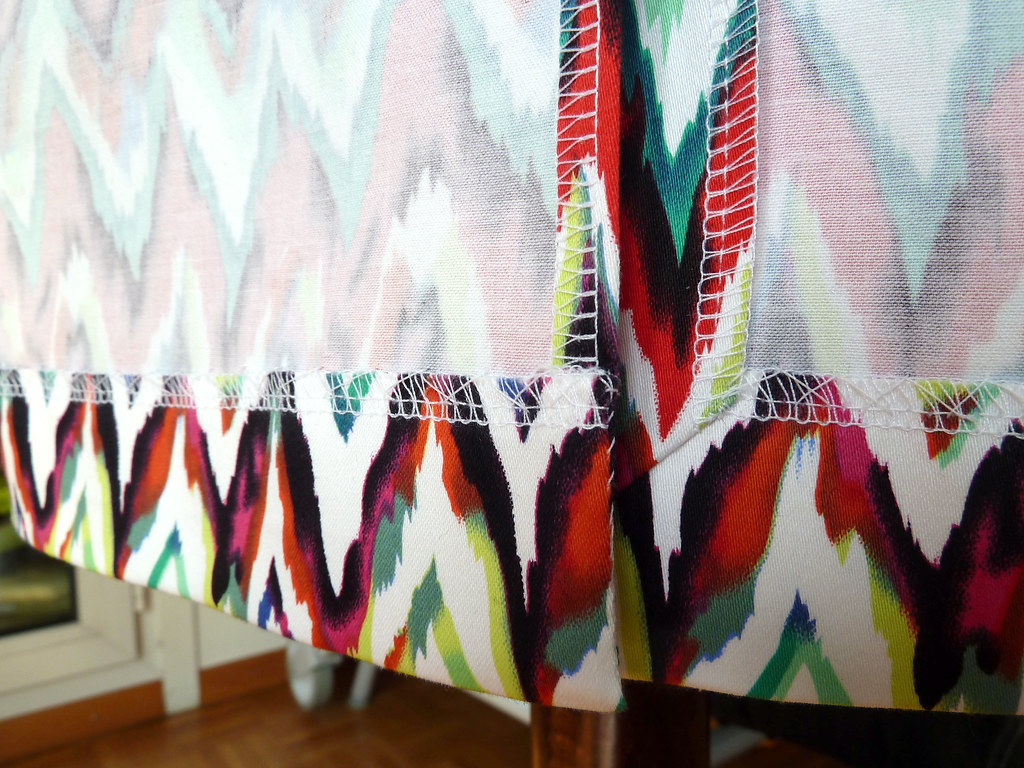
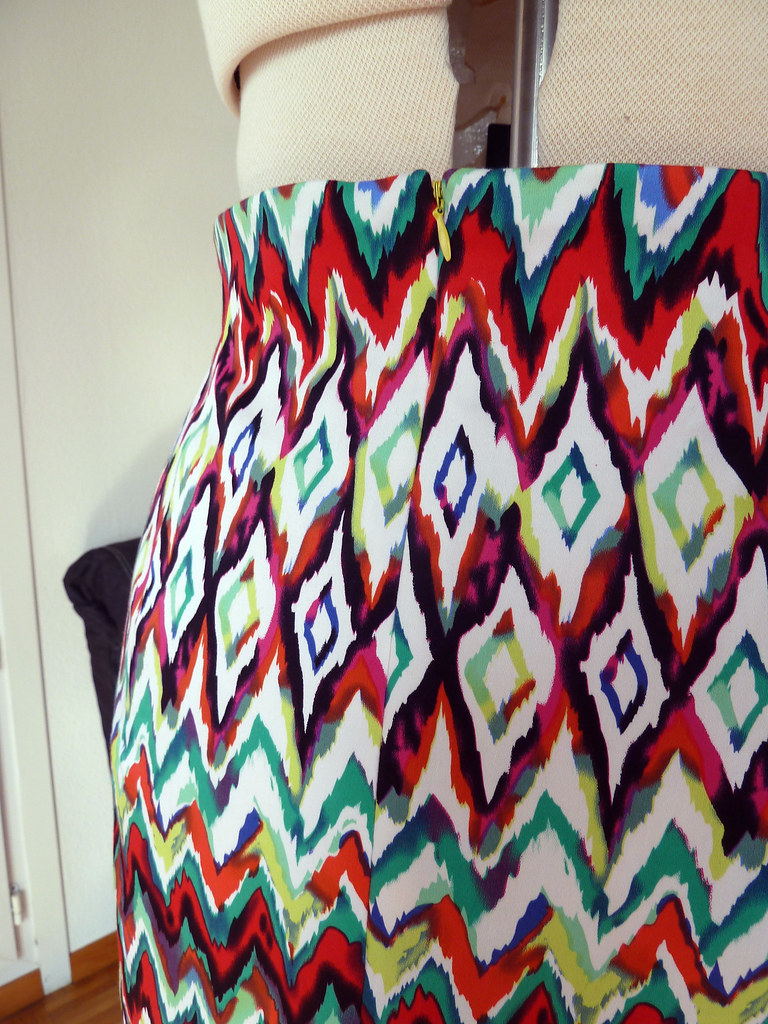
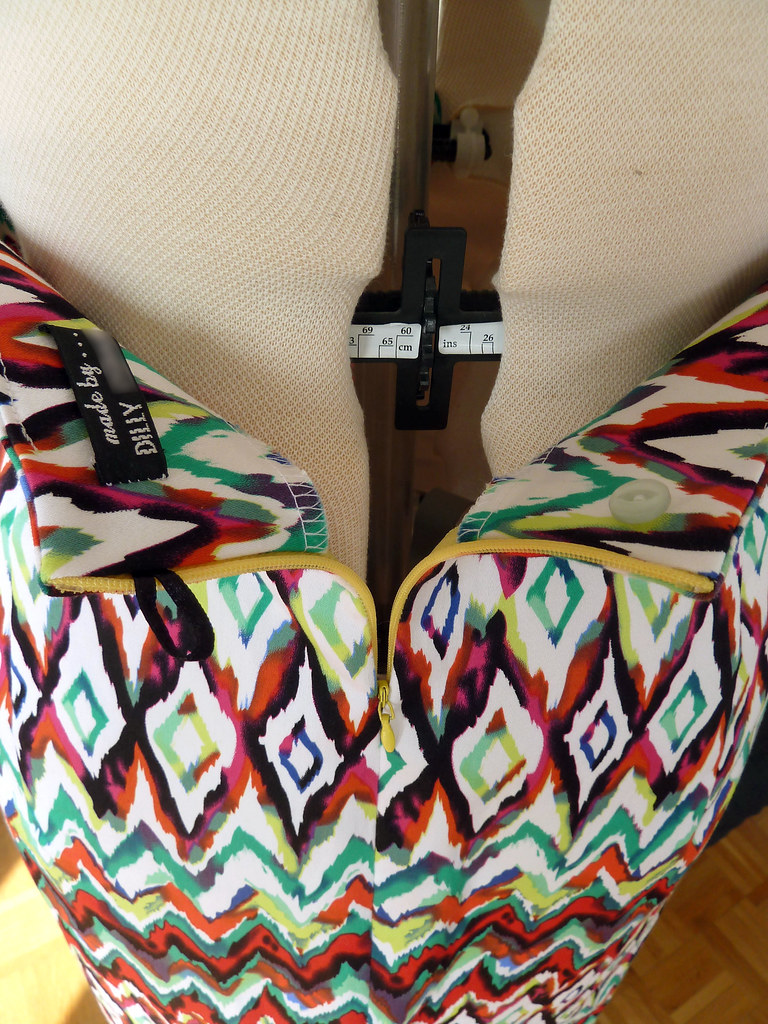
I think the print looks awesome - and it works great for this style! I am very satisfied with my version of this skirt - it´s become a wardrobe staple.
ReplyDeleteWear it with black, or with one of the colors in the skirt - what about a yellow sorbetto-ish top? That would look great! :-)
Gorgeous print, and great use of it in this simple skirt. Have fun with tops. I'd choose solids to match the colors in the print. So cheery!
ReplyDelete