My husband and I are going to Sri Lanka to visit family in a month's time, via Qatar to visit a friend. Both places are hot hot hot, but are also places where strappy dresses and shorts are not really acceptable to wear, so I need to procure some suitable clothing (plus I need some long-sleeved tops to avoid mozzie bites). Most of my summer tops and dresses are sleeveless, so I'm focussing my sewing in the next month on making things I can take with me, but will also be suitable to wear afterwards. Natural fibres are a must so I don't boil, and when I was choosing March's Burda Challenge, I spotted this shirt and thought it would be lovely and airy. Well-fitting shirts are also something I find very difficult to find in RTW, so this is a win-win.
Pattern description
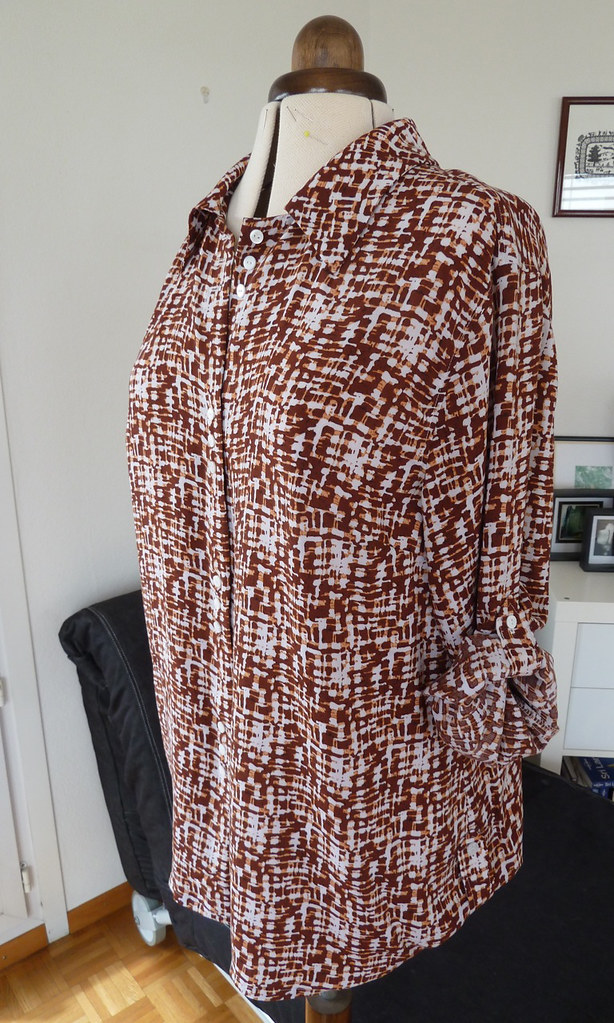
Easy fitting shirt-styled blouse with sleeve and side hem tabs, roll collar and cut-on front placket.Pattern sizing
36-44. I cut the 44.Fabric used
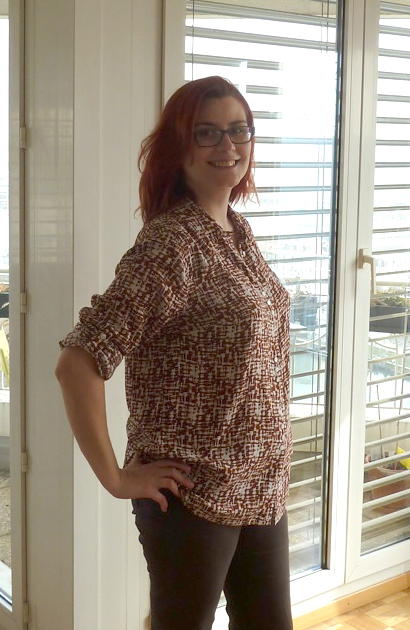
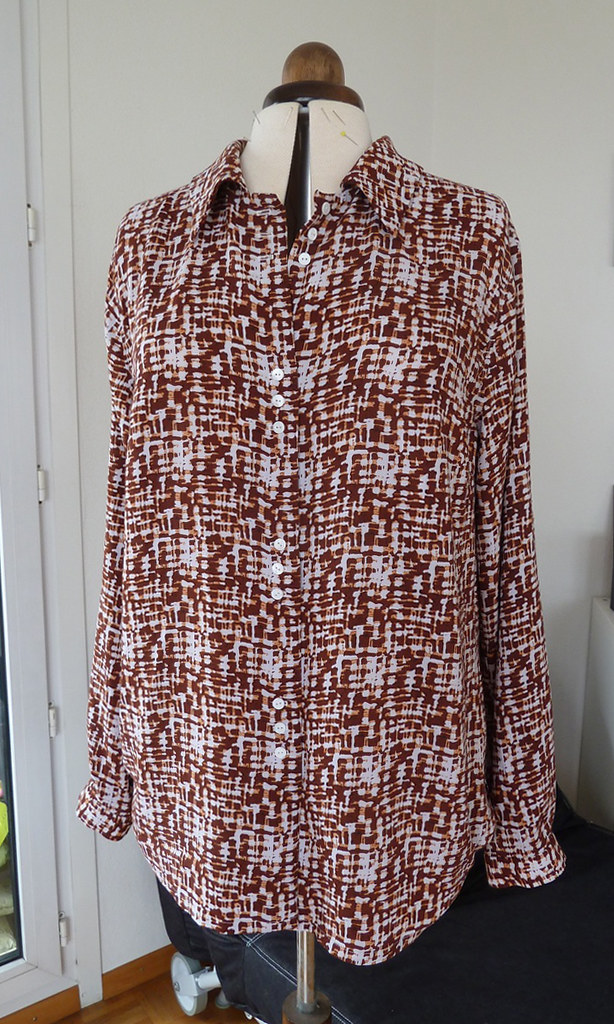
Rayon challis from Fabric.com. Instead of fusible interfacing I used a layer of cotton lawn together with a layer of cotton batiste to keep the drape-y qualities of the challis.Did it look like the photo/drawing on the pattern envelope when you were done?
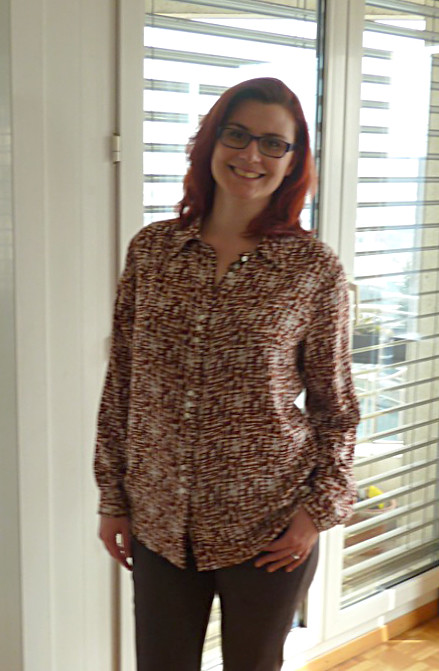
Pretty much - except with proper cuffed long sleeves. And a lot more 70s.Were the instructions easy to follow?
Mostly the instructions were fine for anyone who has sewn a little before. I was a bit confused by the instructions for the sleeve vent lapped placket, but I consulted my sewing books, and it became clear what I was meant to do once I had a go with the muslin, and realised that one half was folded under whilst the other half extended out from the slash underneath.The only bit I found completely opaque was for applying the bias strip neck facing. It says to lay the bias strip on the collar, but then that it is resting on the body of the shirt, which was rather confusing. As it went to to tell us to fold it upwards, I went with putting it on the underside of the collar seam. As the pattern has it, the facing seems to come out super narrow, just 5mm wide when folded and sewn over the raw seam allowances. This means that even with trimming and grading the seam allowances that it encloses, it comes out rather bulky. To be honest, I'm not entirely sure what I ended up with is correct and if I made it again I would probably try and work out something a bit different.
What did you particularly like or dislike about the pattern?
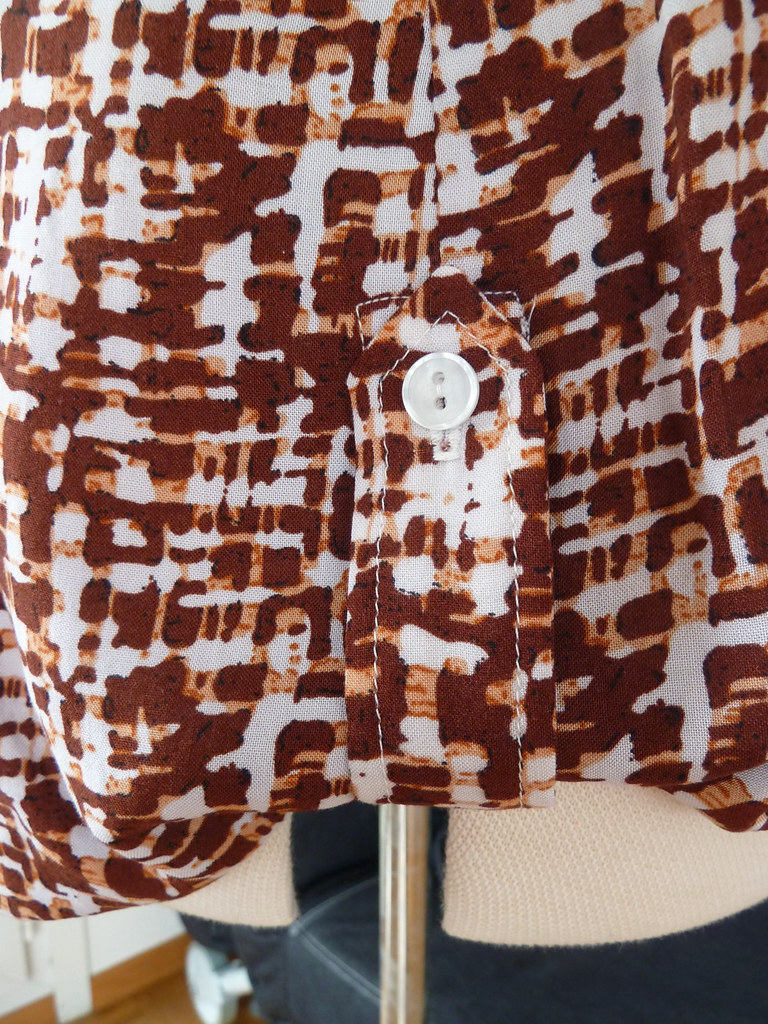
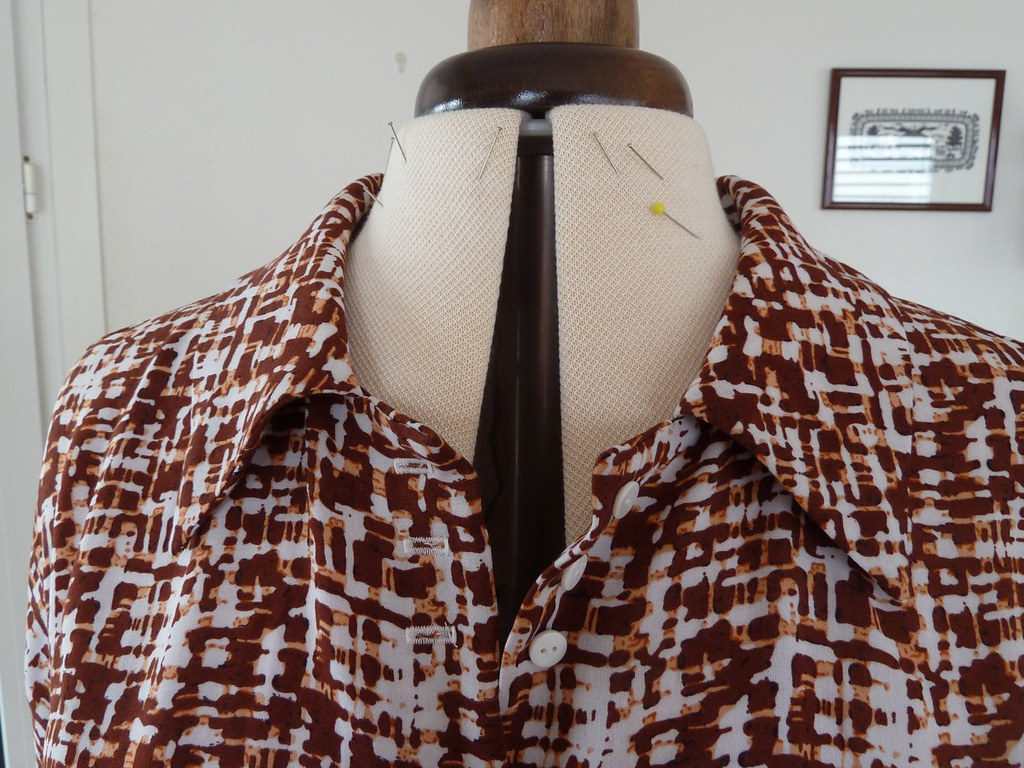
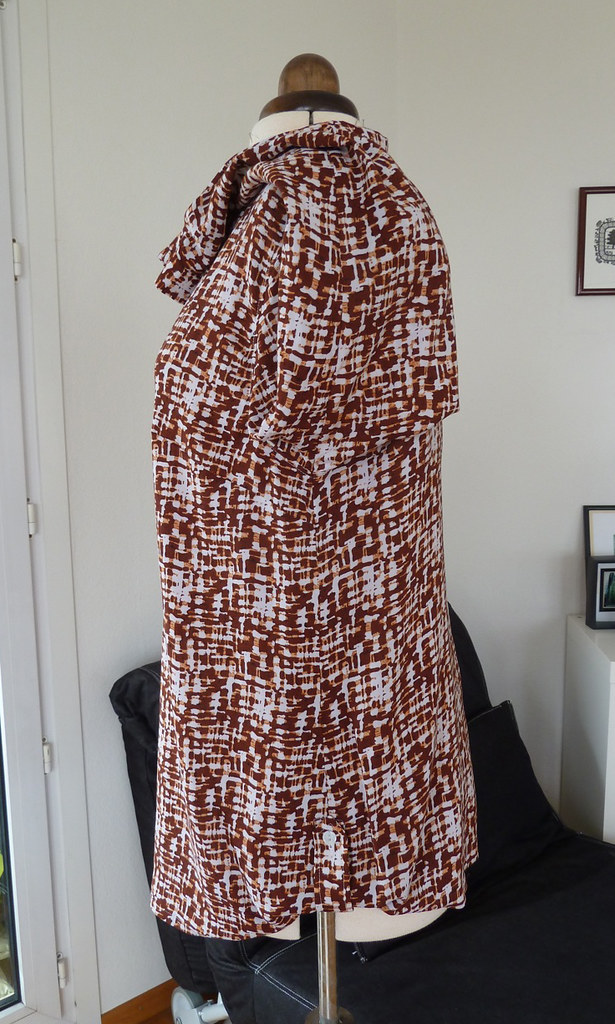
I like: the button tabs on the sleeves and the side hems, the interesting button placement, and the overall fit. I dislike: the bias neckline facing.Pattern alterations or any design changes you made
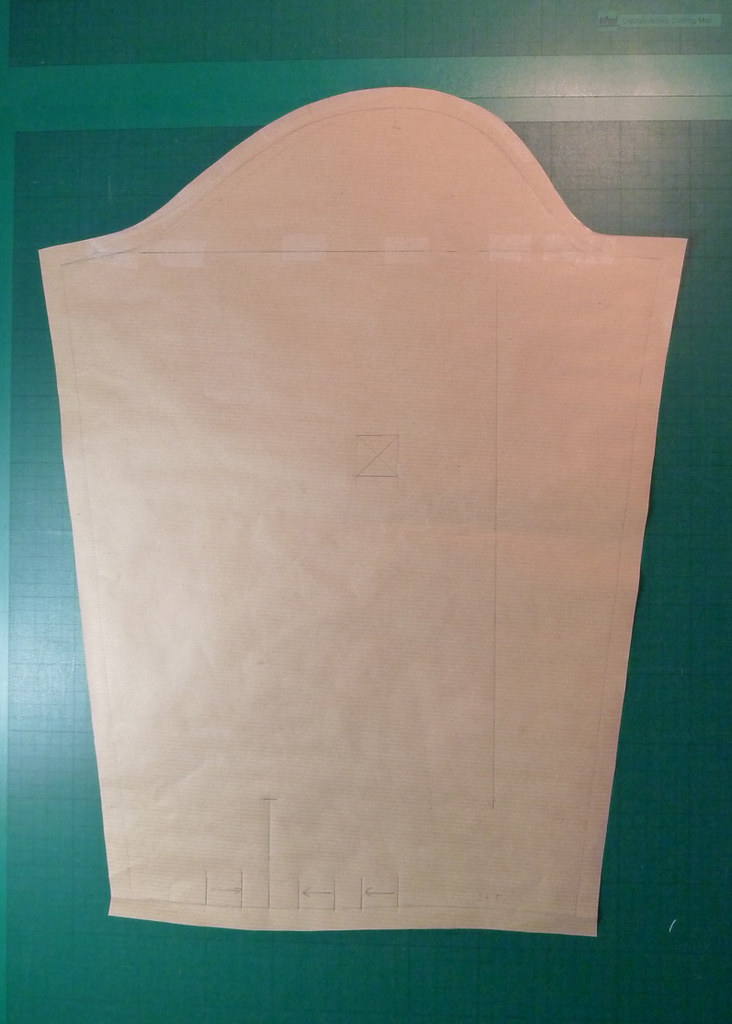
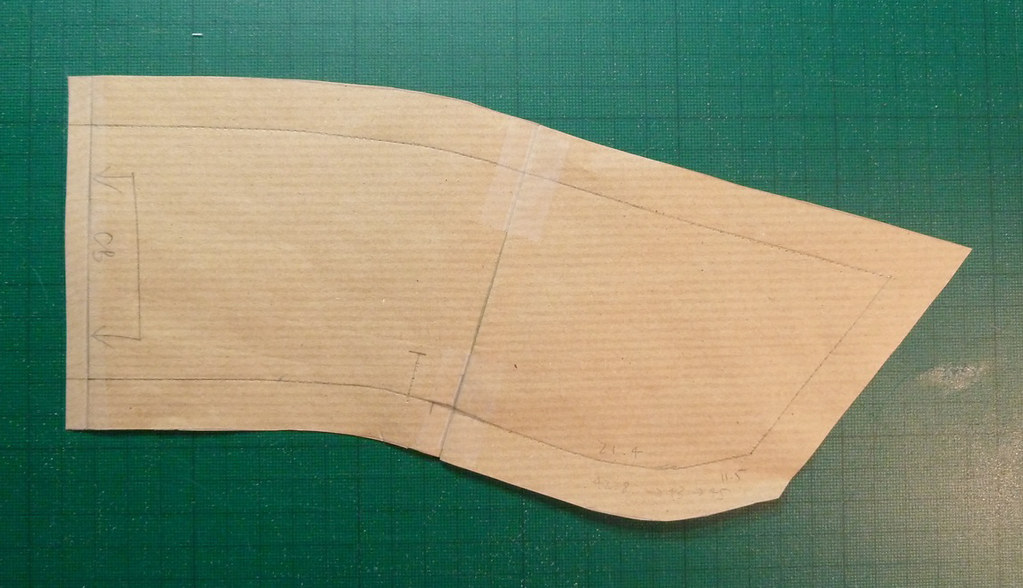
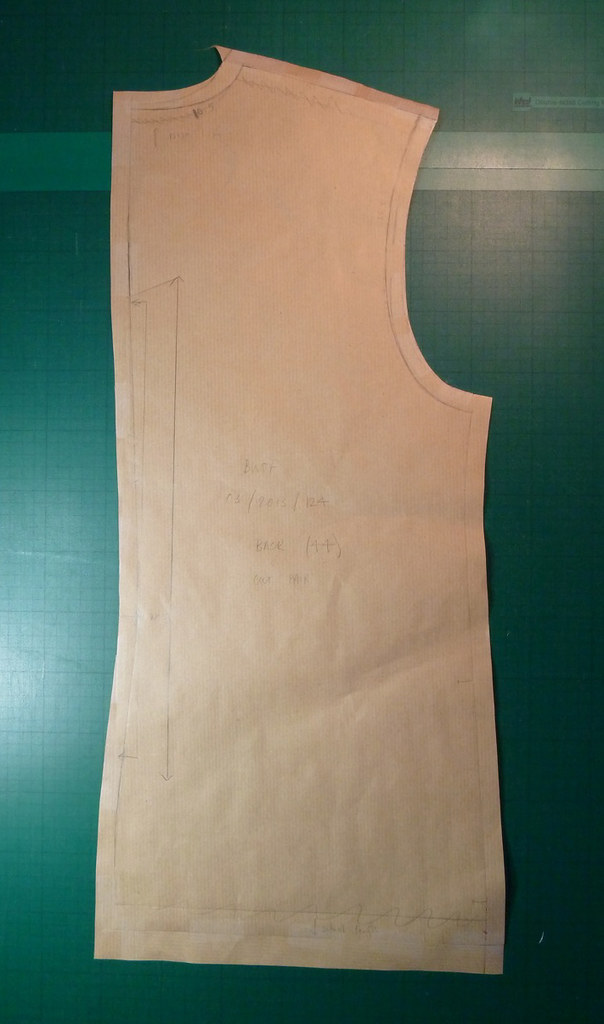
I decided to muslin this unaltered as it is easy fitting, and found only minimal alterations were needed: forward shoulder adjustment, raising the back neckline, adding a shaped CB seam, and a small FBA. I moved the shoulder seam forward 1cm at the neckline and 1.5cm at the shoulder point. The sleeve cap was slashed horizontally at the level of the balance point and slid forward 1.5cm so the shoulder point matched, then reshaped, ensuring that the length of front and back matched the armscyes (this style of shirt sleeve has zero sleeve cap ease, which makes this simpler).The back neckline was raised 1cm, and the collar piece reshaped to take account of the new shoulder seam placement and back neckline shape. I wanted to make sure the shape was not distorted, so rather than just simply adjusting the length at the CB, I folded out the excess length in the front section, and added a little to the CB to match the length in the back section.
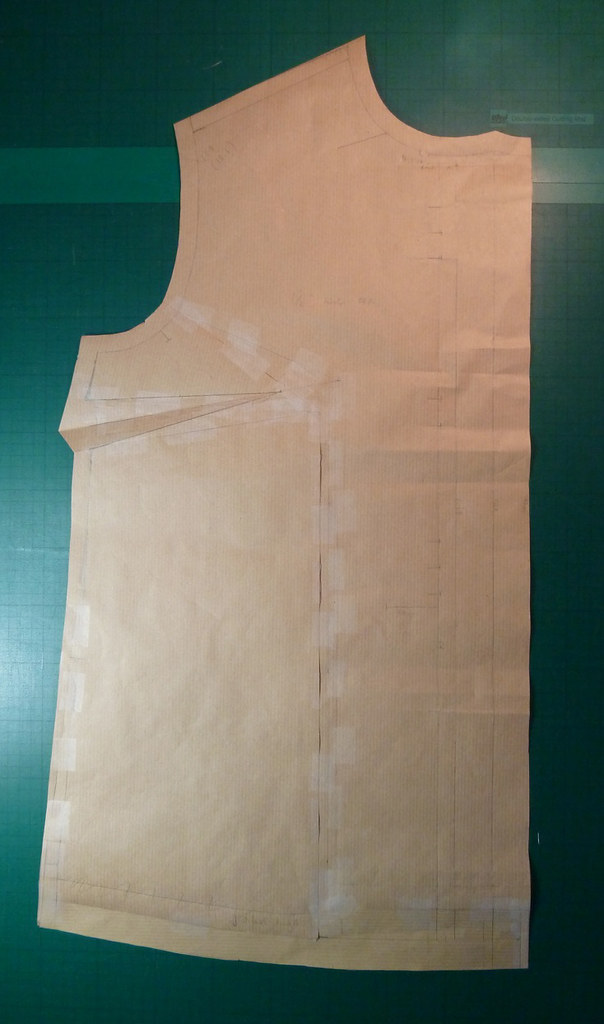
The CB was shaped inwards at the waist by about 1.5cm (for a total of 3cm) and a seam allowance added. I made an FBA of about 1.5cm (for a total of 3cm), adding a bust dart, and shaping the side seam to remove the excess added at the waist (so that the bust dart wasn't too large).
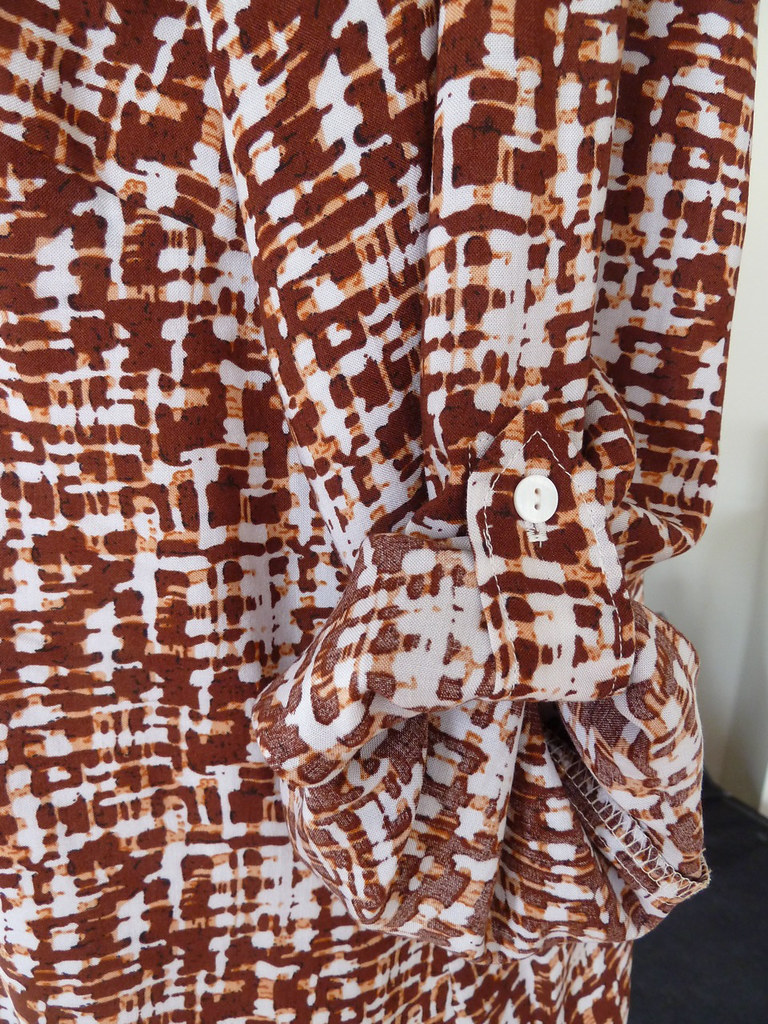
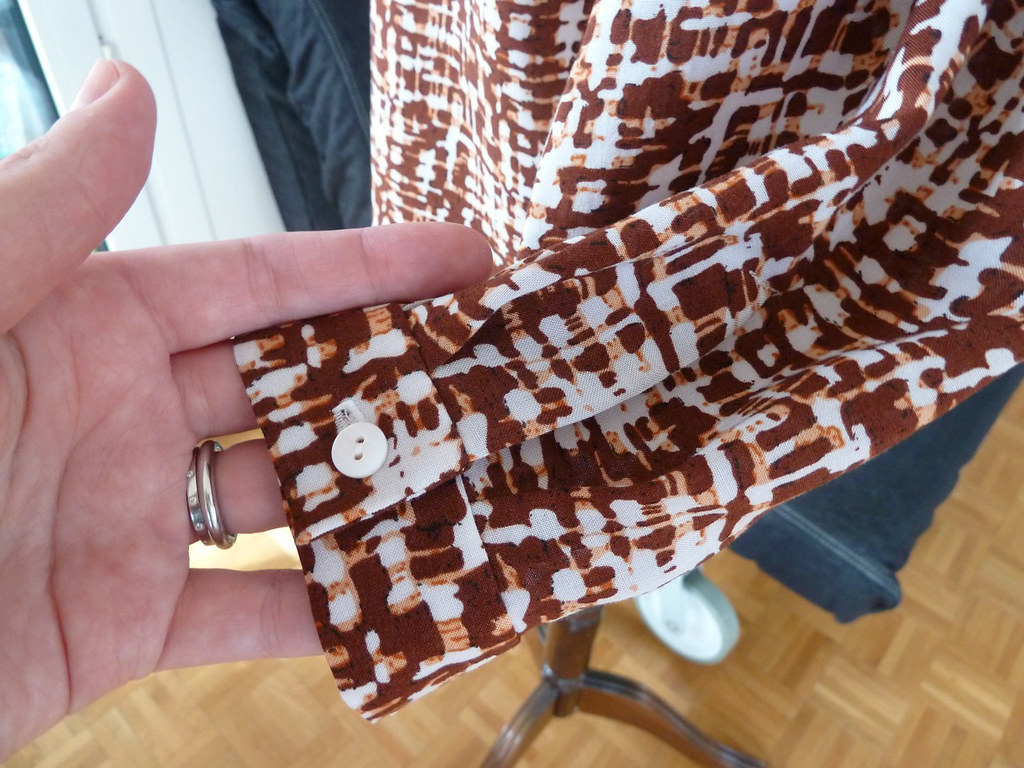
As for design changes, I added vents and cuffs to the sleeves. The pattern pieces for the sleeves to 124 are identical to pattern 125, so it was simple to add the cuffs using the instructions for the other pattern (but without the topstitching). This made it much more versatile as I can wear it with the sleeves unrolled as well.
Before making the buttonholes on the front band, I tried out (with pins) the placement as marked, having adjusted for the size 44 (the pattern is marked for size 36). I found I needed to move the second group of buttons up about 2.5cm so that my bra didn't show (I will be wearing this blouse with the very top set undone). I moved all the buttons up accordingly so that the spacing was even, but this left the single button too far from the bottom, so I added two more buttons to make this into another group of three.
Construction details
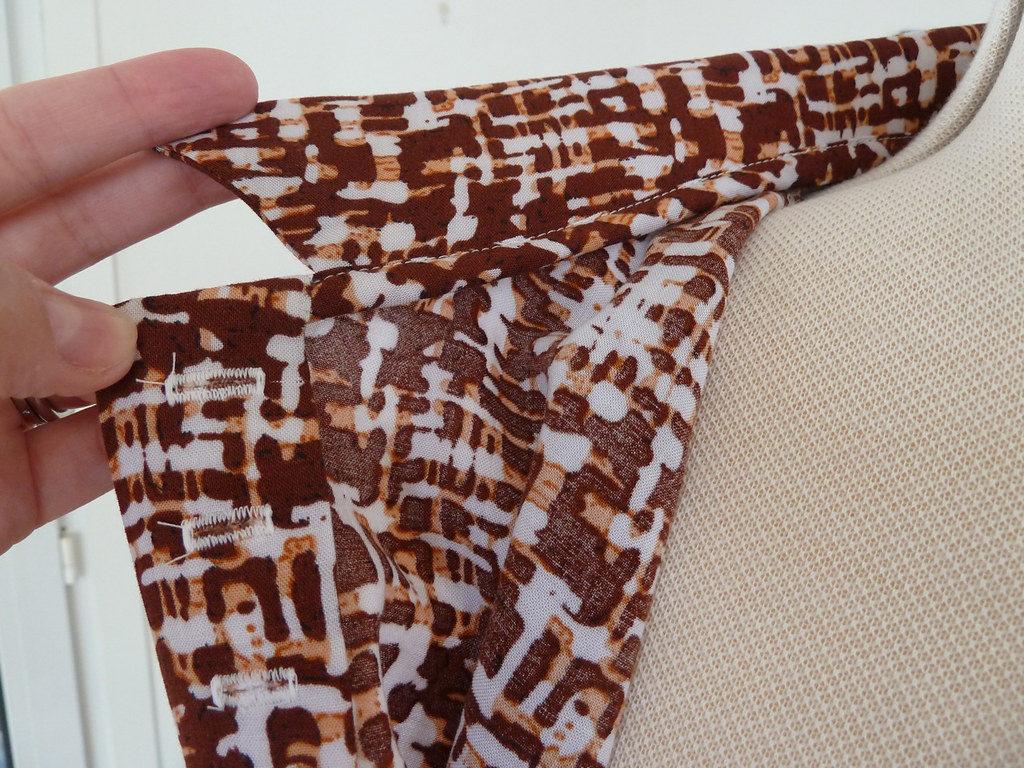
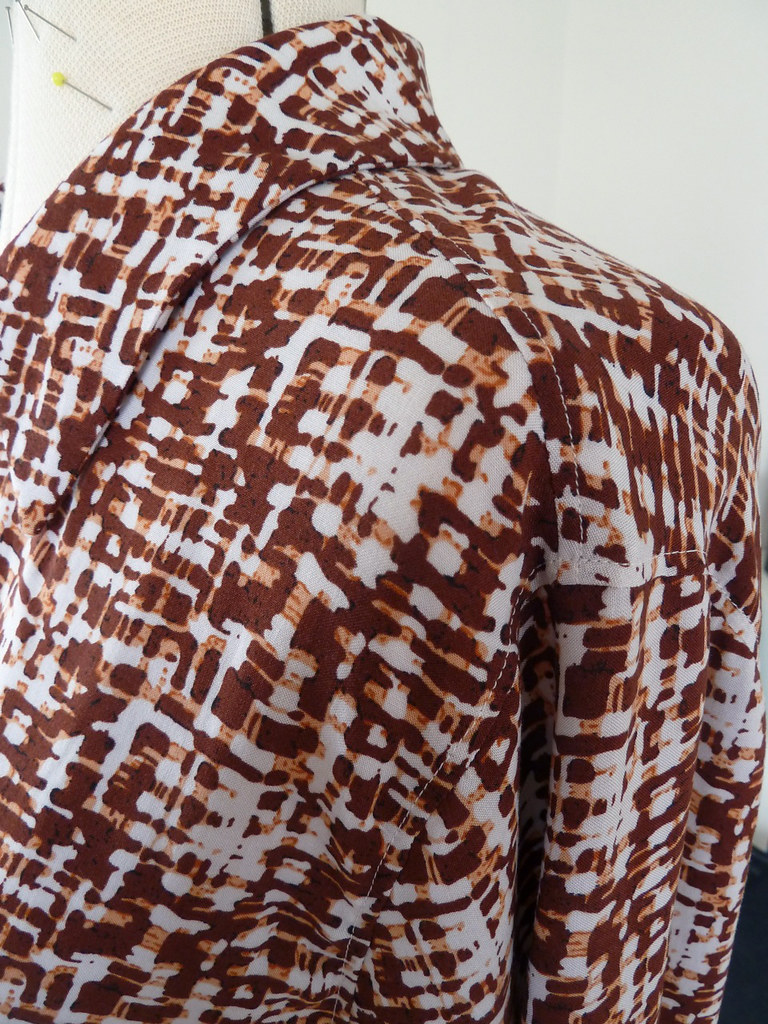
After the last project there isn't much to say about the construction here. The seams were sewn on my standard lockstitch machine with the seam allowances finished together with the serger. I topstitched the sleeve seams and hem as the pattern indicated, and also the shoulder seams to stabilise them a little.I only needed to do a tiny bit of hand sewing for this garment: stitching down the cuffs on the inside, attaching the front plackets to the neck facing and hem, and sewing on the buttons. I'm a little concerned about how the button plackets will hold up as they are held in place only at the top, bottom and by the buttons/buttonholes, so it's possible for them to flap open a little, exposing the raw edges, especially at the bottom section. I'll see how it goes and whether I need to add an extra tack or two. If I make this again I guess it would be advisable to finish the edges of the placket before folding it under (or add topstitching).
I did do some nominal pattern matching, but didn't do anything particularly accurately - which makes it both surprising and pleasing that it worked so well! The CB seam is nearly invisible, and even the sleeves nearly line up!
Would you sew it again? Would you recommend it to others?
I may well sew this again, although I have other shirt and blouse patterns that I'd also like to try. It would be nice to have another version before going on holiday, but I'm not sure I'll have time to make it as there are several other things I would like to make.I would recommend this pattern, but not for absolute beginners as it requires a bit of precision. I think it also works best in slightly drape-y fabrics, and these can be a little hard to handle during construction.

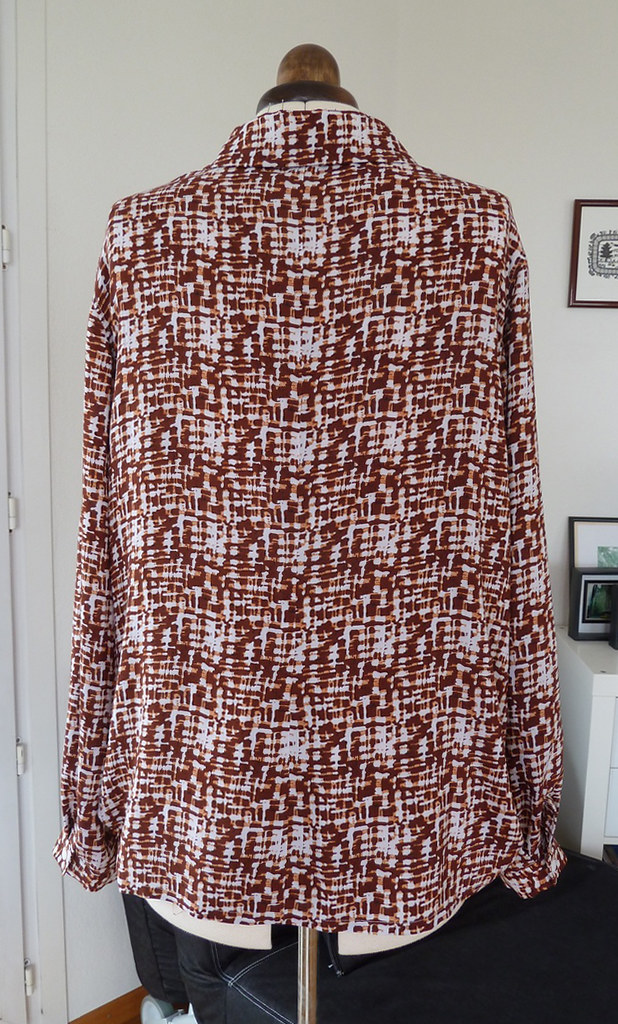
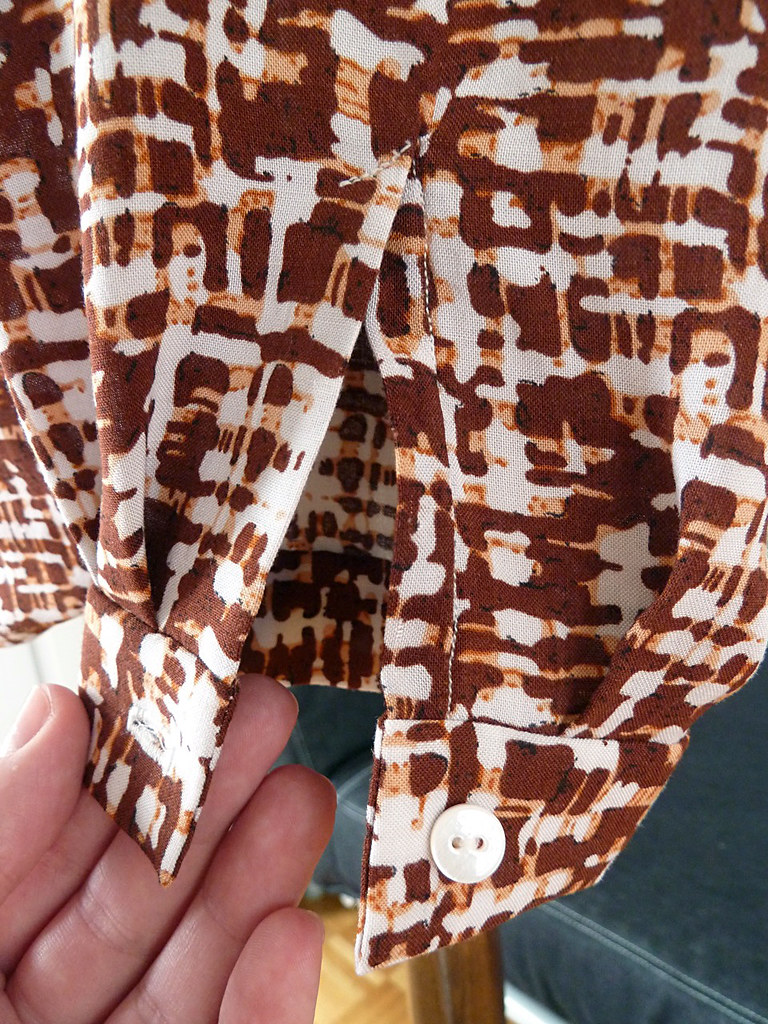

Wow, the pattern matching at CB really is perfect! This looks like a great top for travel to a hot place. The sleeve vents look awesome!
ReplyDelete